Benefits of Painting Concrete Plus a Step-by-Step Guide
 Concrete painting in your garage or basement is a great project for winter or anytime. There are some terrific benefits to painting concrete, which more and more homeowners are finding out. The do-it-yourself approach isn’t complicated, but it requires tools, supplies, and a certain amount of skill. Concrete painting takes a lot more time than, say, painting drywall. The week or more of effort and requisite waiting between steps is definitely worth it, once the final coat of paint has dried.
5 benefits of painting concrete floors
Have you ever been surprised by how beautiful a new coat of paint can look on your interior or exterior walls? The same type of awe can be inspired by concrete painting, as well. You may be surprised at some of the benefits of painting concrete, which include:
· Concrete is very porous. Sweeping a concrete floor is difficult, since the dust builds up in cracks and crevices. Once you’ve painted your concrete floor, however, you can get rid of the dust and maintain a pristine environment.
· Concrete is subject to cracking from heat and cold. By painting it, additional insulation is added and there is a diminished chance that cracks will develop in the future. Using quality paint is recommended, and the accompanying guarantee can be 10 years or more.
· In your garage, paint renders your concrete floor spill-proof. You can get a lot more enjoyment out of your garage when the cement isn’t absorbing oil and grease. Substances can be mopped up from painted concrete, leaving no unsightly stains behind.
· Instead of dull gray concrete that lacks charm, you can add virtually any color and design you desire to your concrete surfaces. Painting concrete can be expected to increase your home value.
5-step guide to painting concrete
Step 1. Wearing full protective gear, thoroughly clean the concrete floor with a solution of warm water and trisodium phosphate (TSP) at a ratio indicated on the TSP package. This requires time and a lot of effort.
Step 2. If there is old paint, use a wire brush and paint scraper to strip any paint that is blistering or peeling.
Step 3. Seal the concrete surface by using concrete filler to patch gouges, scratches, and holes in the concrete. Allow the compound to dry, and then sand until smooth. Two coats may be required, depending on the manufacturer’s instructions. Waiting for 5 to 7 days before applying the second coat may be recommended by the manufacturer, as well.
Step 4. Prime the concrete using concrete primer, also known as block primer. This will even out the surface and fill pores. Wait at least 8 hours after priming to paint but don’t wait more than 30 days.
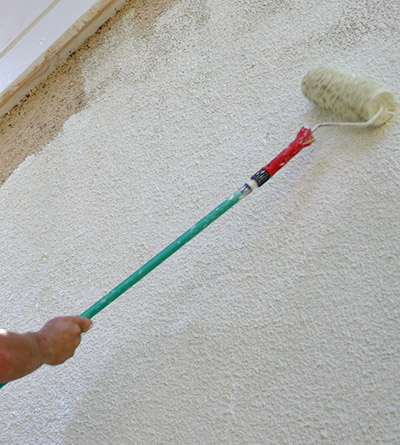
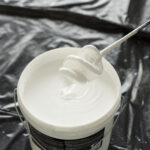
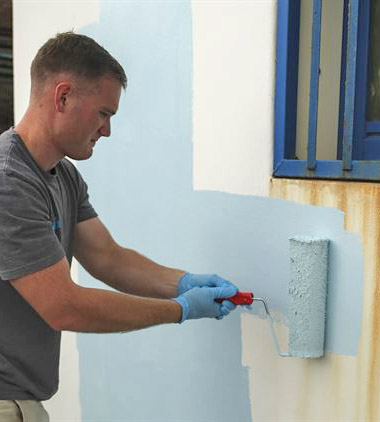
Step 5. Finally, paint the concrete using masonry paint, which is also referred to as elastomeric wall coating. There are binders in the paint that move with the concrete as it expands and contracts. If you want to use a sprayer, keep in mind that some types of masonry paint are thicker than exterior paint and contain fine particles that can clog sprayers. Ask a paint expert for a paint that will work in your sprayer. Apply 2 to 3 coats of paint, but always let it dry in between for at least a day.
Where to go for help
For help with any painting projects, feel free to contact the professionals at Franklin Painting. We never use outside contractors. Our teams of experienced painters deliver exceptional workmanship on all paint projects, including concrete painting. We can also answer any questions you have about your do-it-yourself concrete painting project.