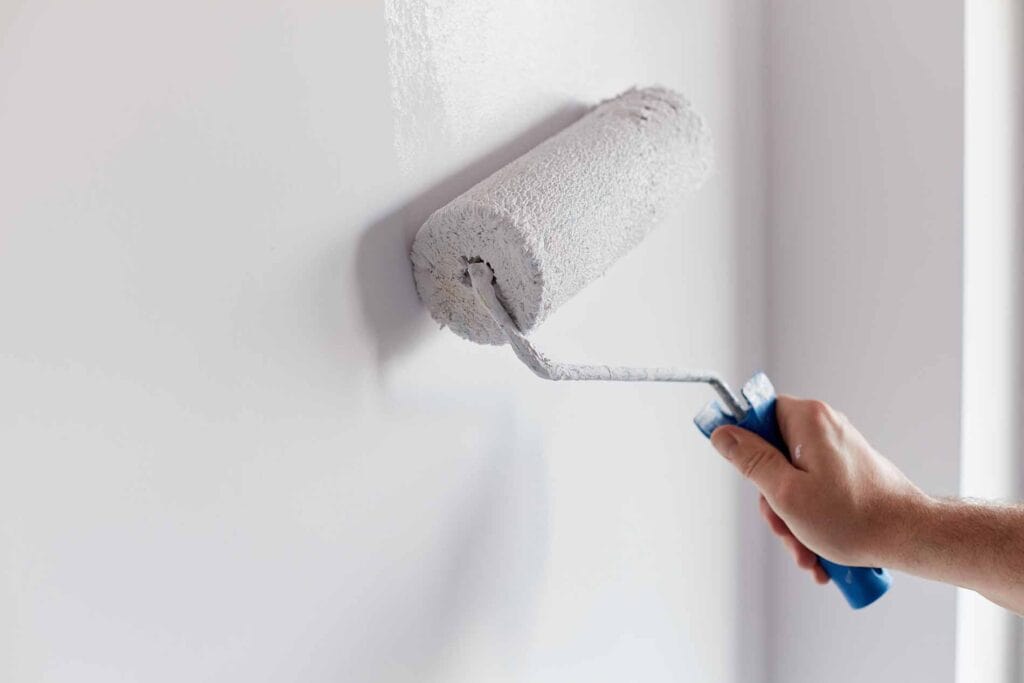
 Plans to rejuvenate your home interior with a fresh paint color can be exciting, but the success of a painting project depends mainly on prep. Getting walls ready doesn’t seem glamorous unless you think about the fact that it makes or breaks the ultimate finish. Going through the sometimes tedious process of prepping your walls for painting is critical.
Clean the Walls
Paint won’t adhere to dirty or dusty surfaces. It’s best to begin prep work with cleaning, whether on the interior or exterior of your home. Pressure washing is the best way to remove dirt on the exterior.
Professional pressure washing is recommended because a lot can go wrong. An inexperienced person using a pressure washer could damage the wood or break windows. Using the wrong nozzle could cause a surface to not be sufficiently cleaned. Proper techniques for spraying the walls also need to be used to produce the desired results.
TSP cleaner is strong and must be carefully handled. It is recommended for use when cleaning surfaces before painting. Rubber gloves and a mask should be used when using TSP cleaner, and areas where the cleaner is used should be well-ventilated. Interior walls should always be cleaned before painting in the following situations:
- The walls are filthy, greasy, or oily;
- In rooms with a wood-burning fireplace;
- Pets or children are in the home, and
- In bathrooms, around the stove, and in the sink in kitchens.
Cleaning is usually unnecessary before painting ceilings, bedrooms, and other low-impact rooms. Ceilings don’t usually need to be cleaned before painting, either.
To remove mildew, mix TSP cleaner with bleach. Rinse after cleaning and allow to dry. Typically, TSP is mixed with water to clean surfaces before painting. It removes paint and can often be used as a replacement for sandpaper. Caution: TSP cleaner can damage metals and ceramic tiles.
Repairs to Prep Your Walls for Painting
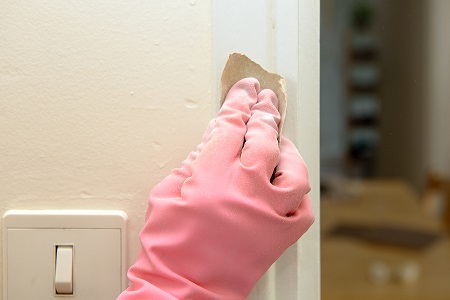
Once walls have dried from cleaning, all imperfections on the walls to be painted must be resolved. Adding fresh paint will only accentuate the flaws if they are left as is. Some or all of the following steps may be needed before painting. How to prep your walls for painting follows:
- Carefully inspect the walls and identify all imperfections. Address each one as appropriate.
- If the wall has cracked or flaking paint, use a scraper to scrape it off.
- Use sandpaper to smooth bumps and other imperfections in plaster.
- Use a spackling product and putty knife to patch small holes. Smooth the area and let it dry. After it is dry, smooth the area with sandpaper.
- Before painting, use primer on patched areas.
Remaining Steps to Prep for Painting
A significant part of the prep work is done by repairing your walls. But there’s still more. Thoroughly prepping for painting ensures greater quality and longevity of the finished look.
 Move and cover furniture.
- Use canvas drop cloths for the floors.
- Apply painter’s tape around the trim. Use longer pieces of tape as much as possible. Short pieces cause gaps that paint can leak through. Press the edge of the tape to your trim using a clean putty knife to ensure that the edge of the tape sticks firmly.
- If you paint a lighter shade over a dark color, use primer either on patched and repaired areas or over the entire surface.
Frequently Asked Questions about Prepping Your Walls for Painting
1. Why is it important to prep walls before painting?
Prepping your walls before painting is crucial for achieving a smooth, professional-looking finish. Proper preparation ensures that the paint adheres well to the surface, reduces the likelihood of imperfections, and helps achieve even color distribution. It also addresses any issues like holes, cracks, or stains that could affect the outcome.
2. How do I clean walls before painting?
Start by dusting your walls with a dry cloth or duster to remove surface dust and cobwebs. For more thorough cleaning, use a mild detergent mixed with water and a soft sponge or cloth to wash the walls gently. Focus on removing any grease, especially in areas like kitchens. Rinse with a damp cloth and allow the walls to dry completely before proceeding.
3. Do I need to sand my walls before painting?
Sanding is recommended if your walls have rough areas, glossy finishes, or existing drips and imperfections from previous paint jobs. Use fine-grit sandpaper to lightly sand the surface until it feels smooth. Sanding helps to create a slightly roughened texture for better paint adhesion. Always ensure you wipe away the dust after sanding before you start painting.
4. What should I use to fill holes or cracks in my walls before painting?
Use spackling paste or wall filler to fill any holes or cracks. Apply the filler using a putty knife, smoothing it into the hole or crack and scraping away excess material to create a level surface with the wall. Allow the filler to dry per the manufacturer’s instructions, then lightly sand for a smooth finish. This process ensures a uniform surface for painting, avoiding visible imperfections after the paint dries.
Leave Prep and Paint to Professionals
You can go through all the steps to ensure a quality finish or leave the work to professionals. The experts at Franklin Painting always use their own trained, experienced team members for interior and exterior painting. They know all the secrets to achieving a flawless, professional-quality paint job. Contact Franklin Painting today at 877-646-7774 to leave prep and painting to skilled professionals.

Frank Campanelli, the esteemed founder of Franklin Painting LLC, has been leading the company since 1986. He takes immense pride in the stellar reputation his dedicated team has built by consistently delivering top-notch service to each customer.